Painting with watercolors can be a lot of fun – or it can be super frustrating and intimidating!
Painting becomes simple once you know the trick
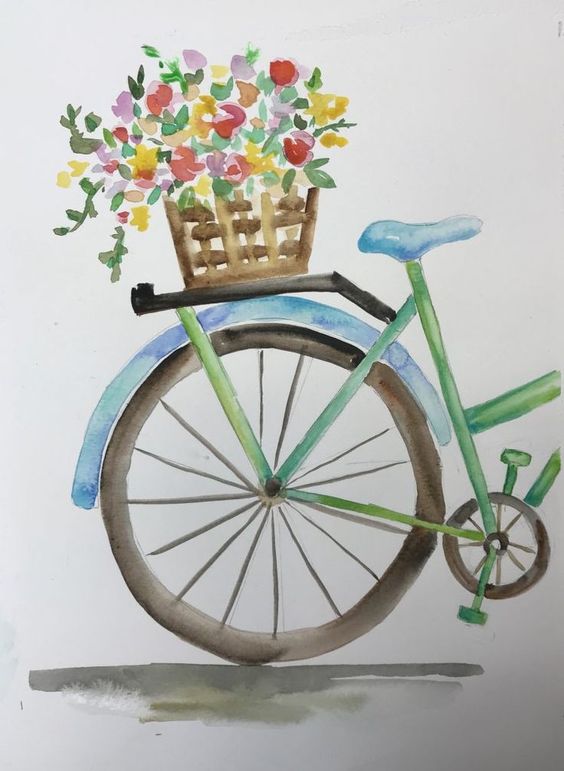
The easiest way to mix paints is by using either a palette, plate or even in the lid of the pan of watercolors itself. You just need to add a bit of water to the pans or the bit you’ve squeezed out and mix a little with the brush.
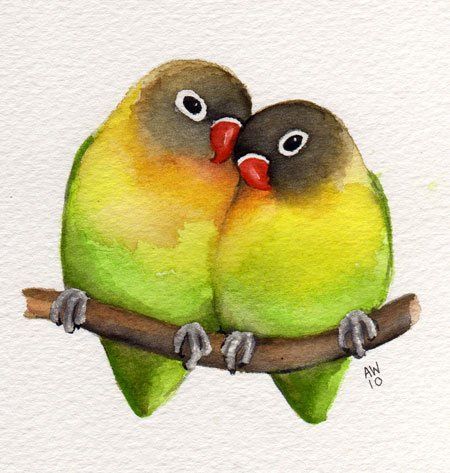
Image source: Pinterest
Let me share with you five basic water color technique with you, that if you are a beginner will appreciate. Knowing is half the battle. So enjoy the rest of the post..
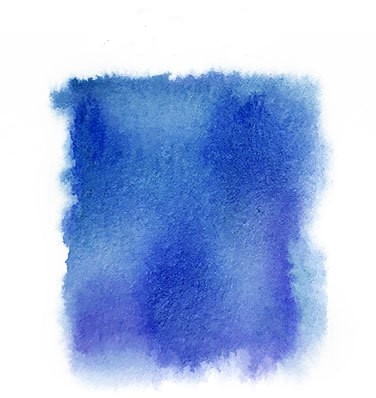
Wet on wet
Here you first do a wash of water on the paper. That is simply dip your brush in water only, and spread a little bit of water around the page. Then, while the paper is still wet, you simply add your paints on top of this layer of water. This is fun to use this technique, because the paint will go wherever the water is.
Use this technique if you want nice soft edges or want complimentary colors to blend together easily. Avoid this technique if you are using opposite colors that will turn into mud when mixed together.
Wet on wet
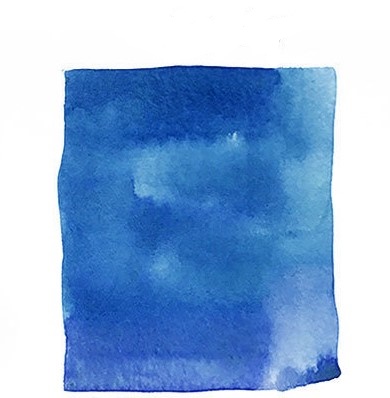
Wet on dry
With wet on dry painting, you do not wet the paper first – you simply use the watercolors, mixed well with a bit of water, straight on dry paper. Dry paper can be a completely fresh blank piece of paper – or it can be something you already painted on that has dried.
Wet on dry
Here you will have a lot more control of where the paint goes, and you will see much more defined lines and edges.
Building up color

This activity will help you practice building up color from plain water to a saturated paint mix.
Creating gradients
This activity is similar to building up color, but instead of working with plain water and different values of one color, we’ll be working with two colors and slowly transitioning from one to the other. It’s a great technique for painting skies and sunsets.
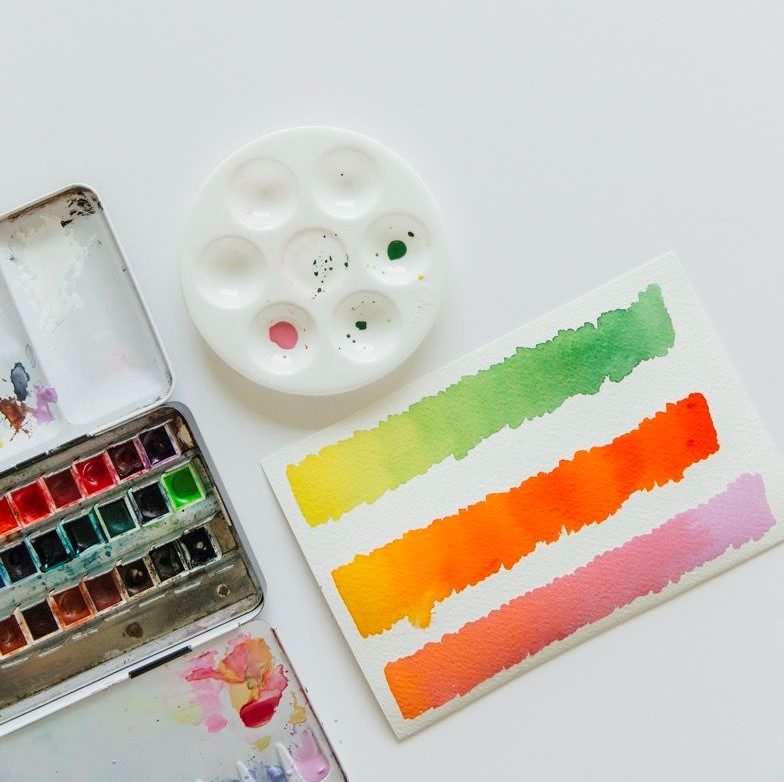
Be sure to use colors that are close together on the color wheel to create harmony; otherwise, your gradient will appear muddy.
Layering and blending
Learning how to layer with watercolors is what can really help give the things you paint some more depth and interest and in turn make it look fantastic on the paper.
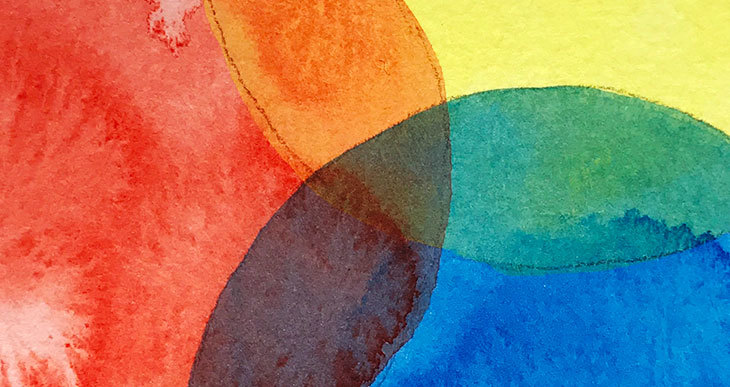
Image source: Watercoloraffair
Start with the lighter color while layering. This way, you can keep building upon those lighter colors until you get the results you want. This technique is used to give shadows and to add more details.
It’s important to remember that watercolors WILL get reactivated, once it dry, if you paint over them with water again. This is important to know, because if you are not careful you can easily muddy up the paints together and results will not be what you want.
Lines and mark making
Once you get a hang on how the paint and paper works then start practicing with painting lines, shapes, and other mark making.
Doodle with brush, just make sure that you use thin and pointed brushes to get minute details.
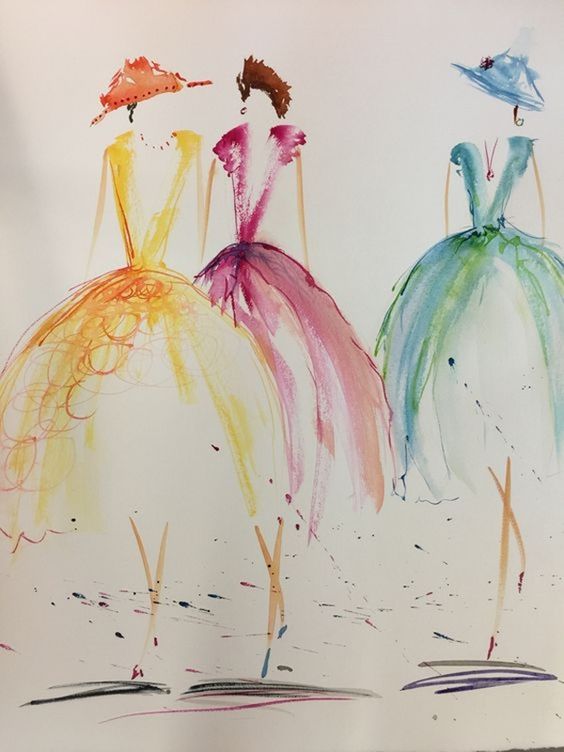
Image source: Pinterest
Some of the marks you can practice:
- Lines & Stripes – straight and curved
- Dots & Dabs
- Cross hairs
- Triangles, Circles, Stars, Hearts, Squares
- Practice Writing Words & Alphabet Letters
Paint lifting
This is another good trick to know when you are learning how to watercolor. Once you paint an area, you can easily take a dry brush or even a paper towel to lift off some of the paint.
This can be used to make some areas lighter, or you can use it to make designs like polka dots or stripes! (without using a second color)
The most important thing to remember is to use the Just Right Amount of Water. Know what is the end result you want and then start painting (only those who are not trying abstract forms).
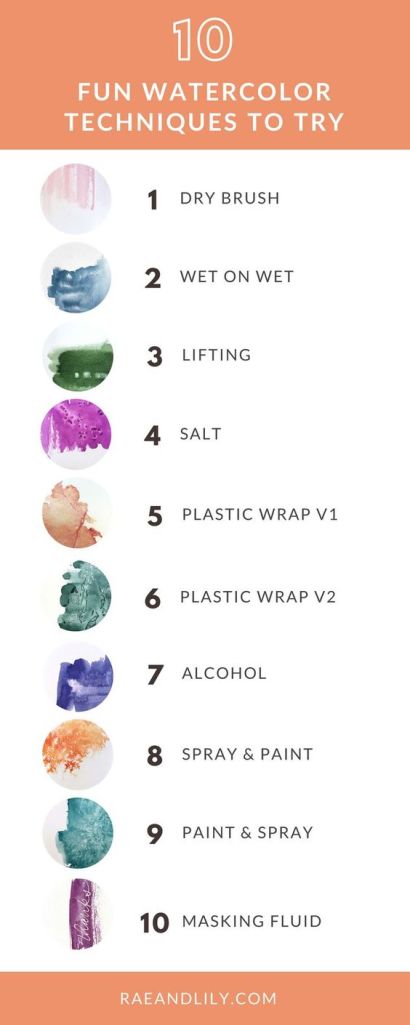
Image source: Pinterest
Source: Art color affair, Art journal,

Leave a comment